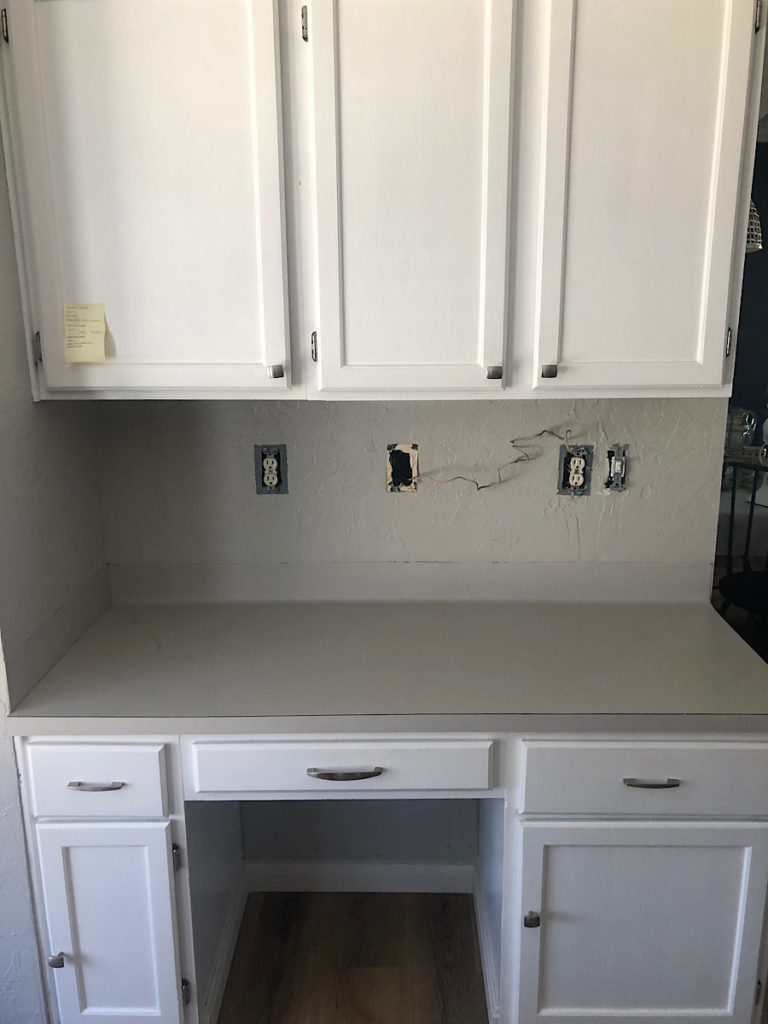
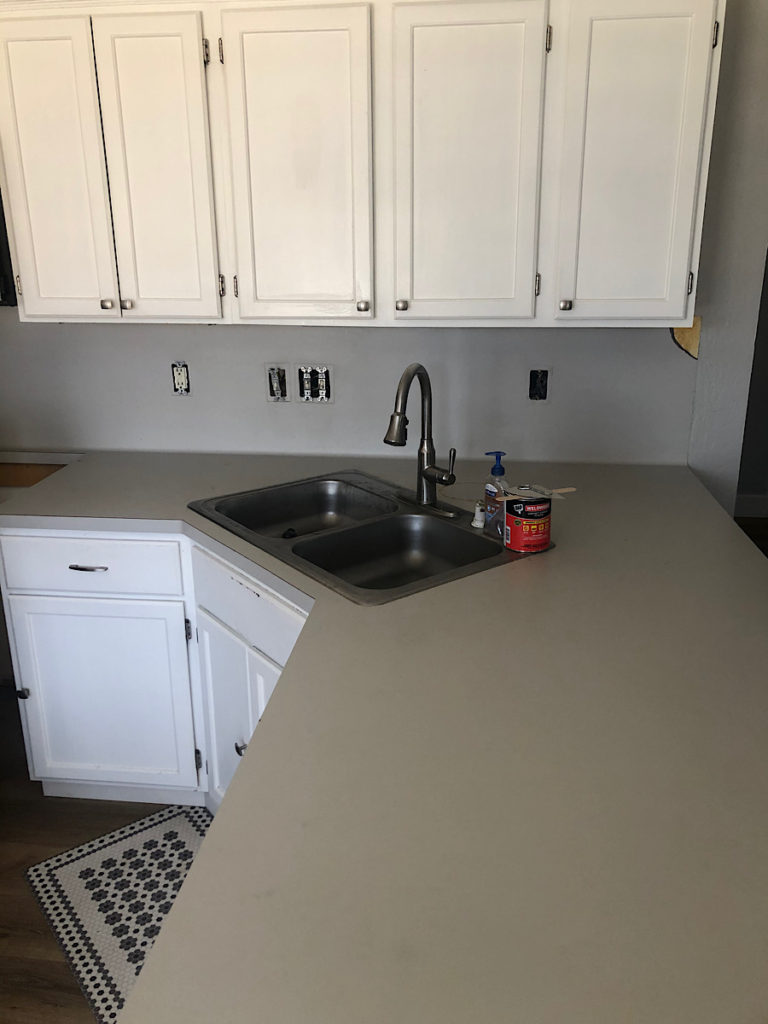
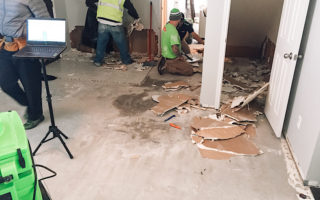
When Kev and I bought our first home just over a year ago, we knew it would be a labor of love. It wasn’t a gut-job home, but most definitely a fixer upper (at least cosmetically). We tackled our fireplace during the stay-at-home order last spring, so this winter we decided to take a stab at a budget friendly kitchen reno! It will be years before we can afford the true renovation we so desperately need (thanks to new pipes and floors), so we settled on a DIY fix until the BIG renovation day comes. Read on for our affordable kitchen reno, featuring DIY marble countertops!
Thanks to Instagram, I stumbled upon Giani, a company that sells paint kits for all your DIY needs. They can produce beautiful cabinets, granite lookalikes, and even faux marble! After seeing posts on their page showing others using the kits on their kitchens, I was ready to take the plunge. After all, nothing (and I mean nothing) could be worse than our current gray laminate. Plus, if I royally screwed it up, our plan for a dream kitchen reno is still to come.
*I feel I should specify that this post is in no way sponsored. I wish it was, ha!
The Giani paint kits come with literally everything you’ll need to complete this project, down to the tape. No need to shop anywhere else! I’m not going to list out each step, because they have incredible directions that come with the kit as well as video tutorials on their website. However, I do have a very detailed, real-time Instagram story highlight, “DIY counters”, saved on my Instagram. Take a look before you begin to see a real-life demo!
Step 1: Prep
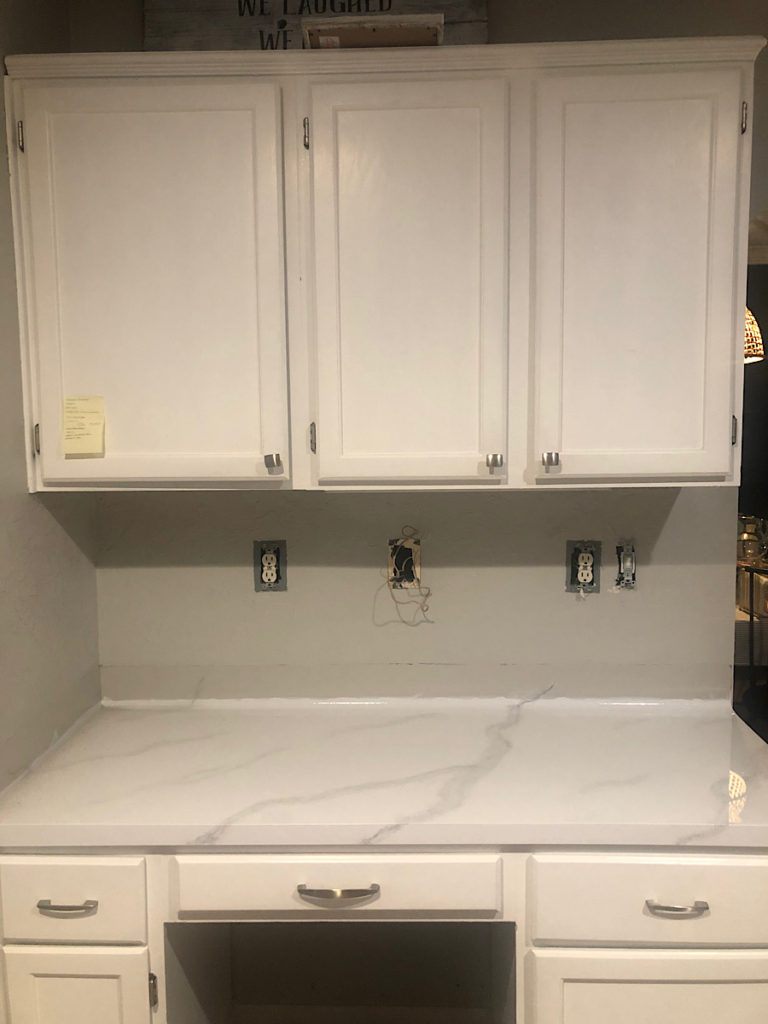
Prepping our space (taping everything off, laying down drop cloths, and cleaning counters) took about 2 hours. Before beginning the process we laid all the products, brushes, and plates out to ensure we weren’t running around the house during the process.
Step 2: Paint & Prime
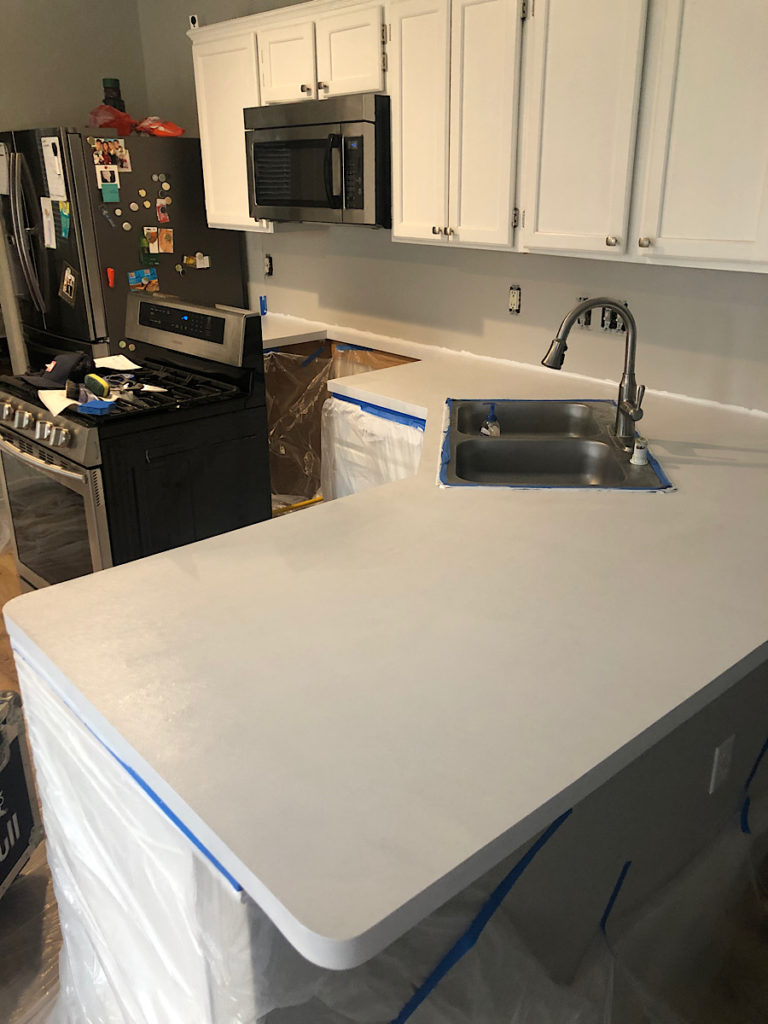
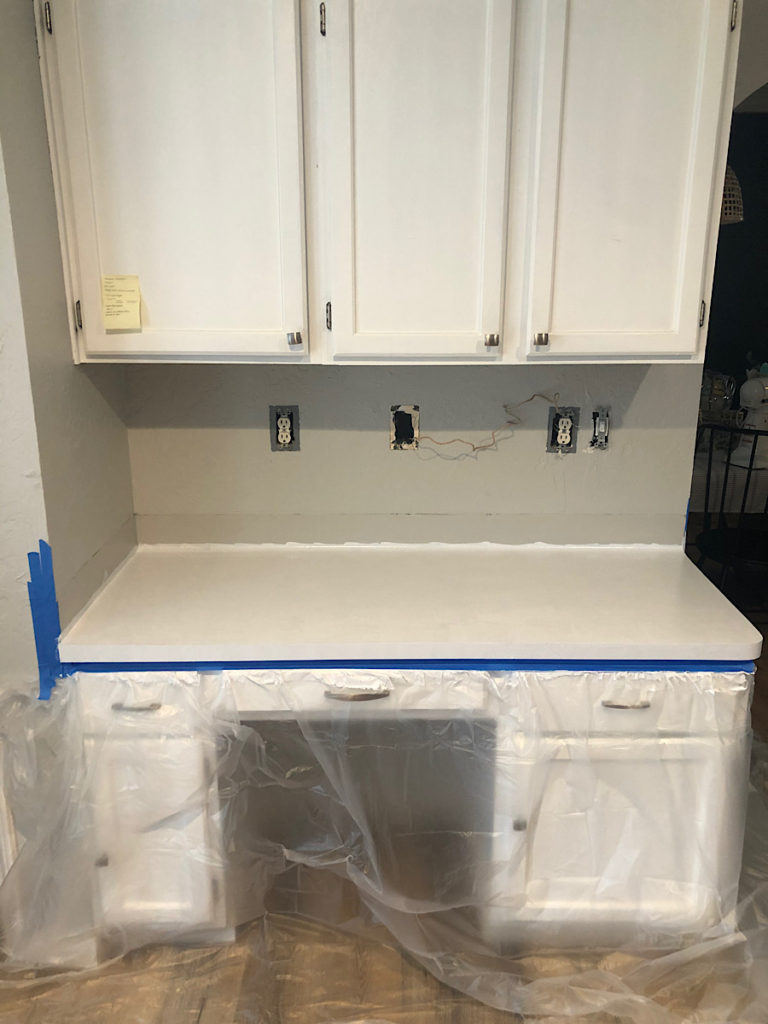
We ended up doing 2.5 coats of the white primer paint (included in the kit, of course). I say 2.5 coats because I put another layer on immediately after the second coat, without letting it dry. This part was super easy and only took about 30-45 min per coat. If you have patterned or dark counters, you’ll likely need 3+ coats. We did this part in the evening so that we could move on to the next step the following day.
Step 3: Marble Veining
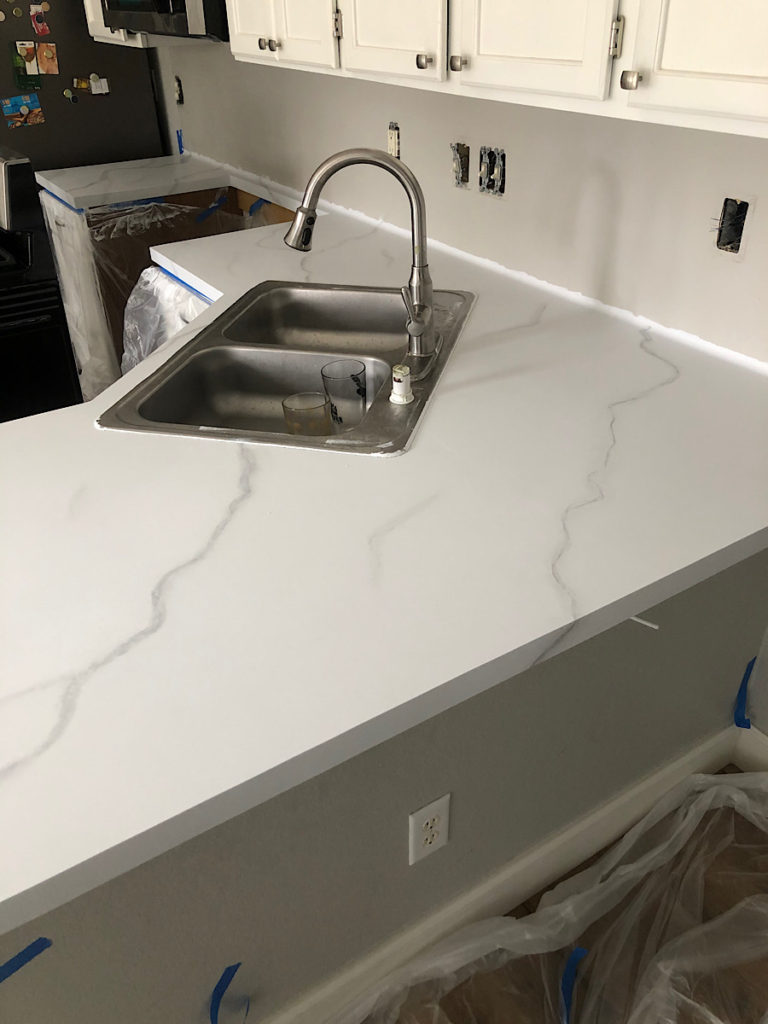
Then came time to put on the marble veining! I promise it will turn out better than you ever could’ve imagined, and you do NOT need to be artistic to do this! I wouldn’t call myself artistic at all, and I’m incredibly happy with how ours turned out. Start in an area that will receive minimal traffic and/or will have appliances covering it for the most part, so that you can get the hang of it. Giani does give you a practice board to try it on first, but honestly it wasn’t very helpful solely due to the fact that the surface of the practice board and your counters are very different.
The number one personal tip I’ll give you is to spray the counter from about 1-2 ft away with the spray bottle, then add your first vein. Having the counter slightly damp helps the vein spread/bleed in a much more natural way. I have a few “favorite” veins that I am really happy with, and it’s because the surface was slightly damp before I started due to erasing/wiping off my first go that I didn’t love. Check out my story highlight for more about the veining technique.
The veining took about 2 hours if I remember correctly. Once you get going, you really get going. Ha! I let it dry overnight and could’ve tackled the epoxy the following day, which would’ve meant the entire process took us 3 days. However, we decided to upgrade our sink which was well worth it, but did cause a few days of delay.
Step 4: Epoxy
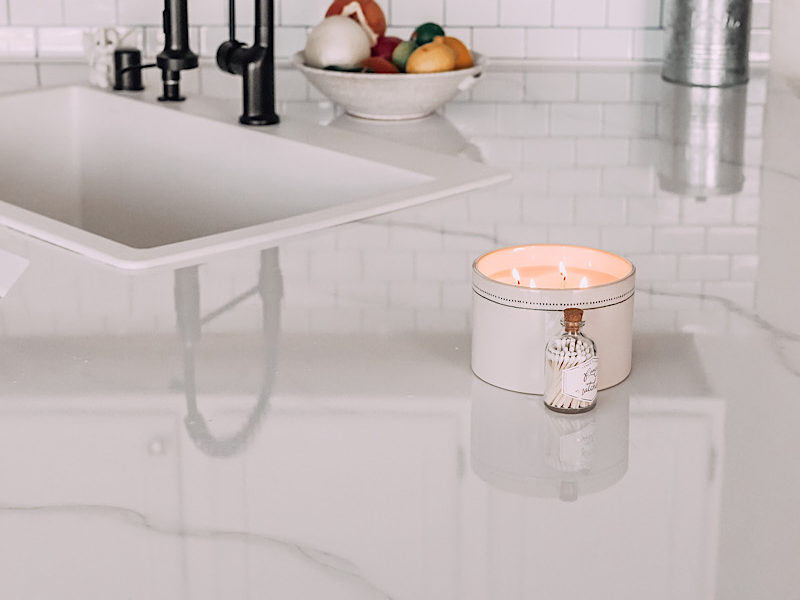
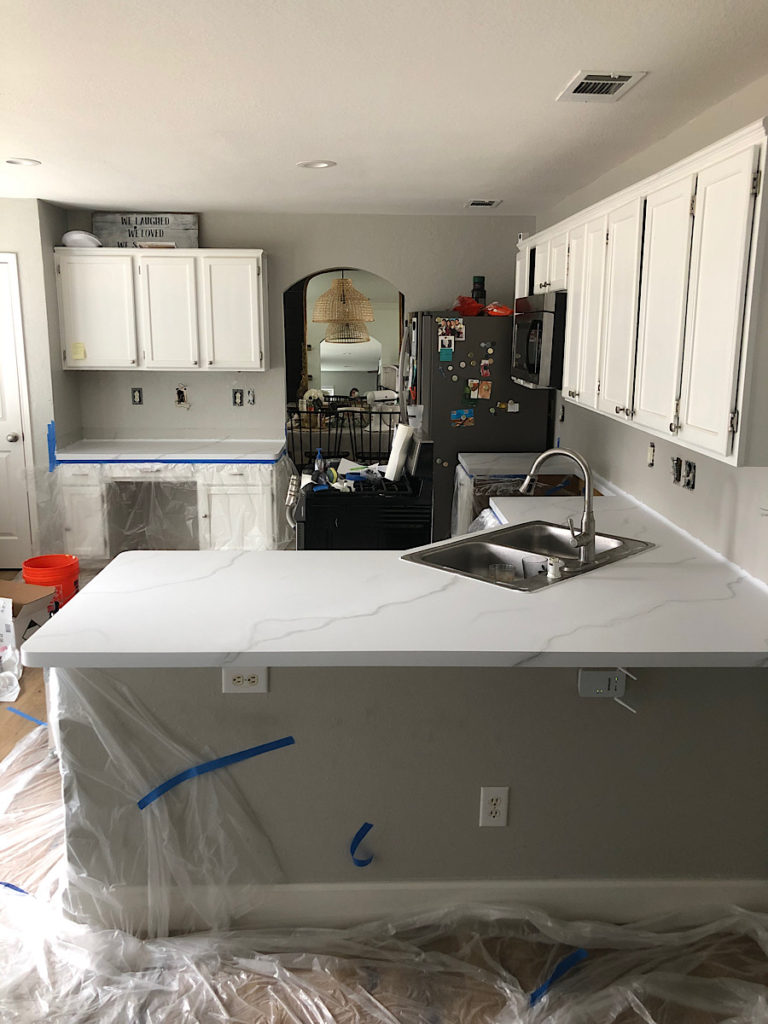
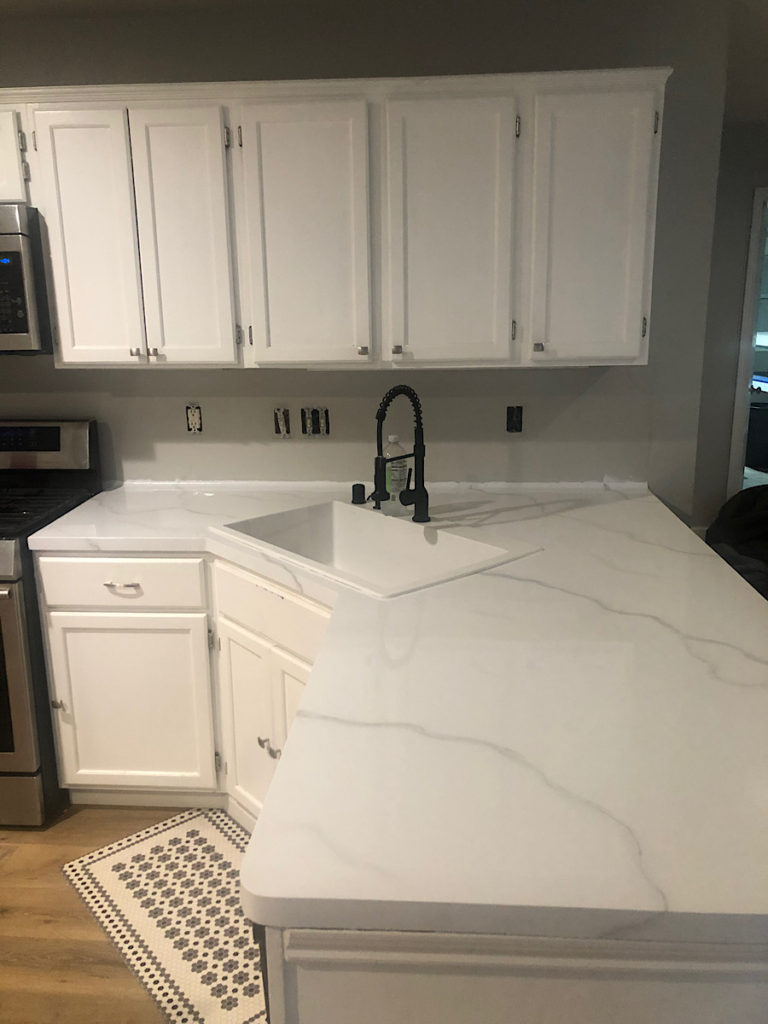
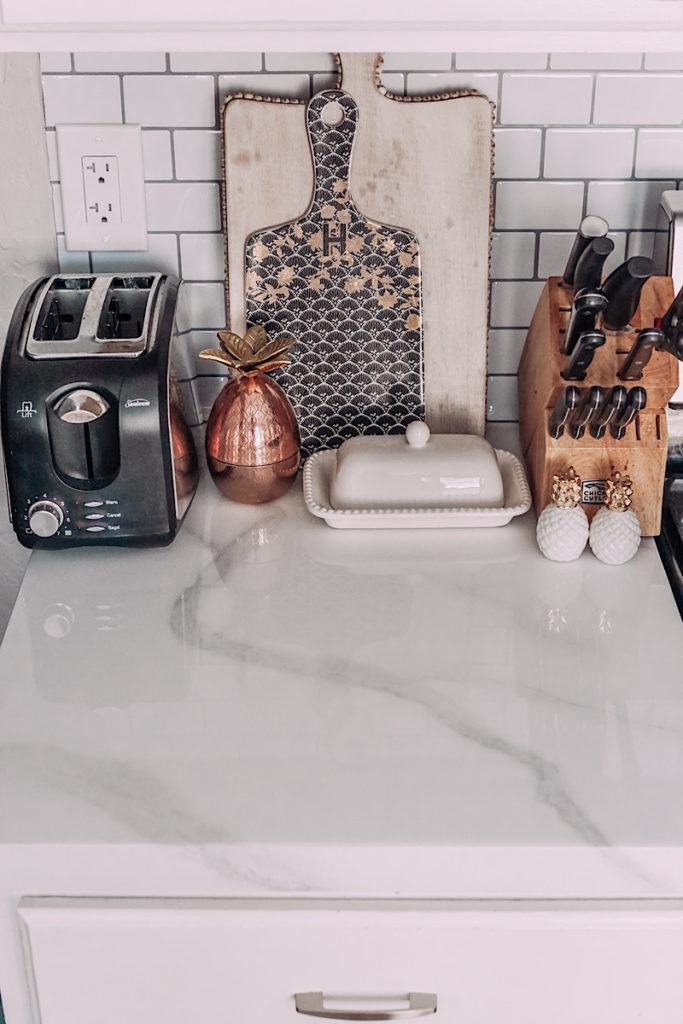
Once we had the sink in place, it was time to epoxy. Epoxy is the clear top coat that hardens and turns your counters into a true faux marble (or whichever design you chose) look. The kit said to plan for 4 hours, but it only took us 2 hours for our ~17ft space. I laid everything out before starting to ensure I had a system in place, due to only having a 30 min window for epoxy application before it begins to cure. Be careful to keep everything on top of drop cloths – epoxy is not something you can remove easily. Kev was my epoxy stirrer while I did all of the application.
It was a little nerve wracking at the beginning, but I can assure you there’s nothing to be nervous about. It was very easy to apply! The kit does give tips on how to get rid of air bubbles, but in our experience they would just break up into a bunch of smaller bubbles, so we stopped messing with them. They’re pretty inevitable in my opinion, and is the only part of the counters that reminds you they’re not real. Don’t worry though, no one else has noticed them at all! Pro tip for the epoxy step: don’t wear loose clothing.
You have 30 minutes after opening + stirring the epoxy can to apply it to your counters. After that, you wait 24 hours for it to harden. Make sure nothing touches them during this time (we even kept Wylie out of the kitchen to prevent her pupper fluff from floating up and landing on them). If you have kids, it may be a good idea to plan for a sleepover elsewhere during the 24 hours of application + post application. After the 24 hour window, you wait 7 full days for the epoxy to completely cure. The instructions say 5-7 days, but why risk it? We waited 3 days before lightly using the sink for washing hands/dishes, etc. but waited the full 7 days before putting anything on the counters. After those 7 days, you’re golden!
Step 5: Backsplash
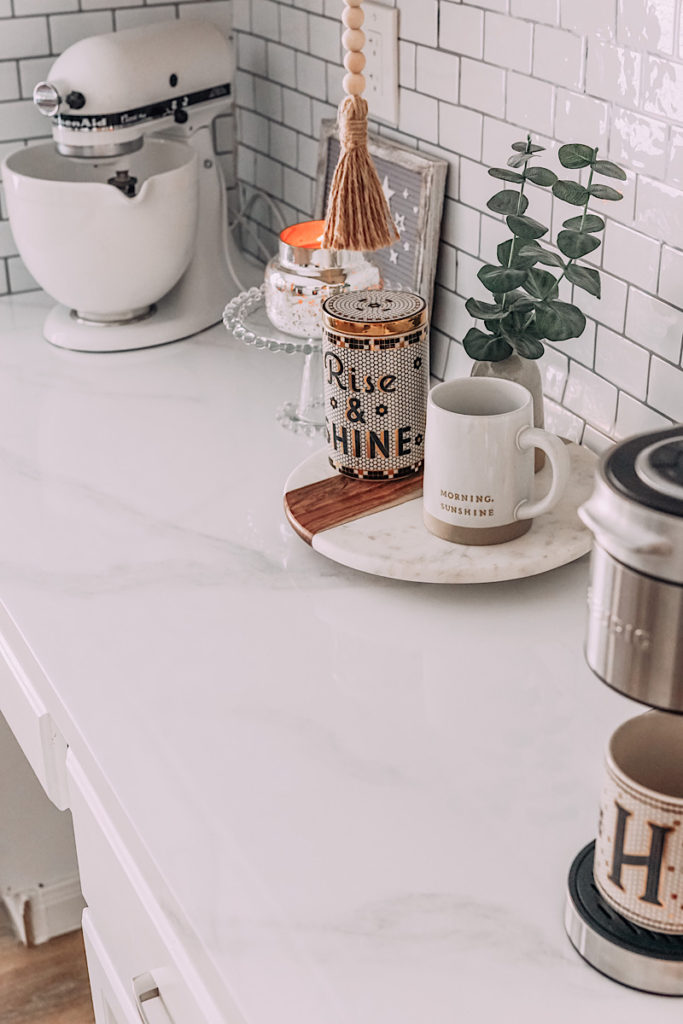
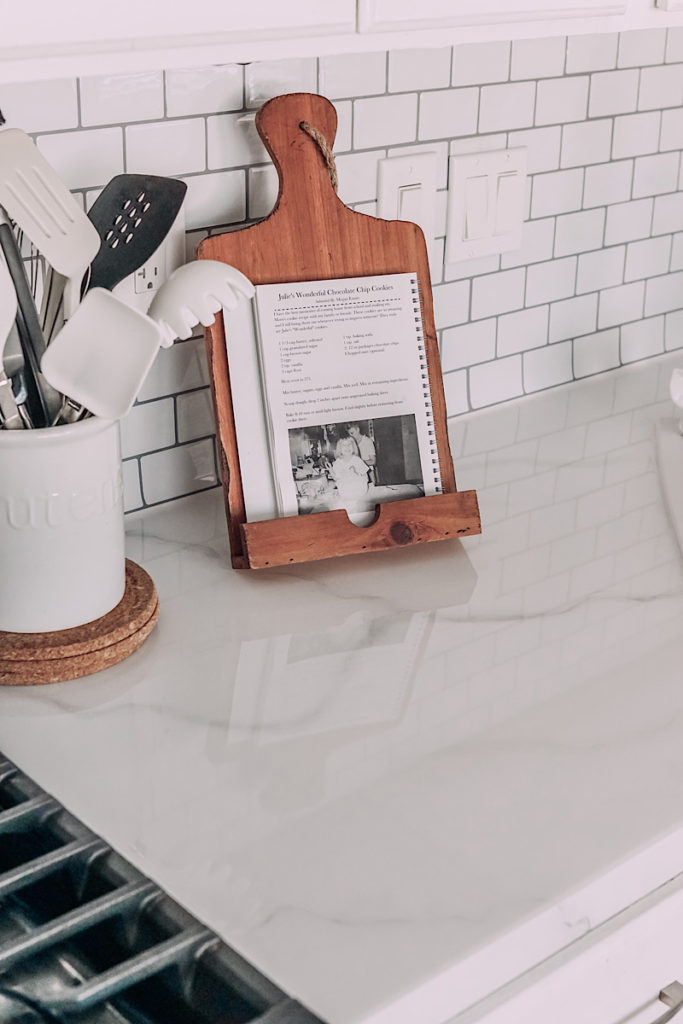
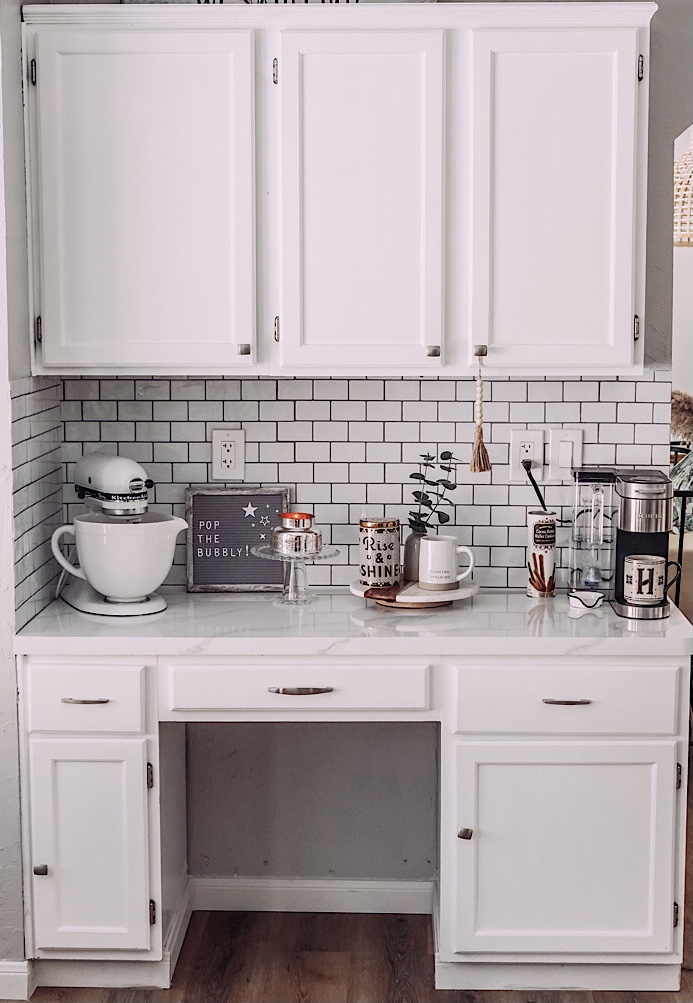
If you’re going the simple update route, your journey ends there. Yay! Kev and I decided that there were a few other things we wanted to do in order to accomplish a true kitchen transformation. For the next (and final) step in our budget friendly kitchen reno, we added some peel-n-stick backsplash to our walls. I did TONS of research on peel-n-stick options, knowing we didn’t want to use (or pay for) real tile since we’ll be ripping everything out for our bigger renovation down the road. I finally decided on this affordable and 3D subway tile backsplash, and could not be happier with the results. Peel-n-stick backsplash is always a pain to put up, given how sticky and unforgiving it can be, but well worth it in the end. Make sure you’re loaded up with patience and you’ve read all of the reviews for tips & tricks on how to install it before beginning. In the end, trial-and-error was what worked best for us.
Our DIY budget friendly kitchen reno costs:
Giani Marble Paint Kit – $180
Farmhouse style sink – $375
Faucet – $53
Soap dispenser – $17
Air gap – $20
Backsplash – $55/pack (packs come with 10 sheets, we ordered 5 packs)
TOTAL: $920
*We had a few gift cards and coupons/discounts we were able to put towards some of these purchases.
So…for an easy $1,000 upgrade, what do you think? Was it worth it? I think…HECK YES! Even our *boujiest* of friends said they couldn’t tell that it wasn’t real. They told us it looked just as good as a $10k+ kitchen! I wouldn’t go that far (our cabinets are…yuck) but I appreciate the kind words. This budget friendly kitchen reno is even more affordable if all you’re doing is the DIY marble countertops. Our next step will be swapping out our silver pulls and knobs for matte black ones to match the sink.
So many of you have reached out to me saying how much you love your own Giani counters, and that after 3+ years they’re still holding up perfectly. We’ll chalk this budget friendly kitchen reno up to a big, fat WIN!

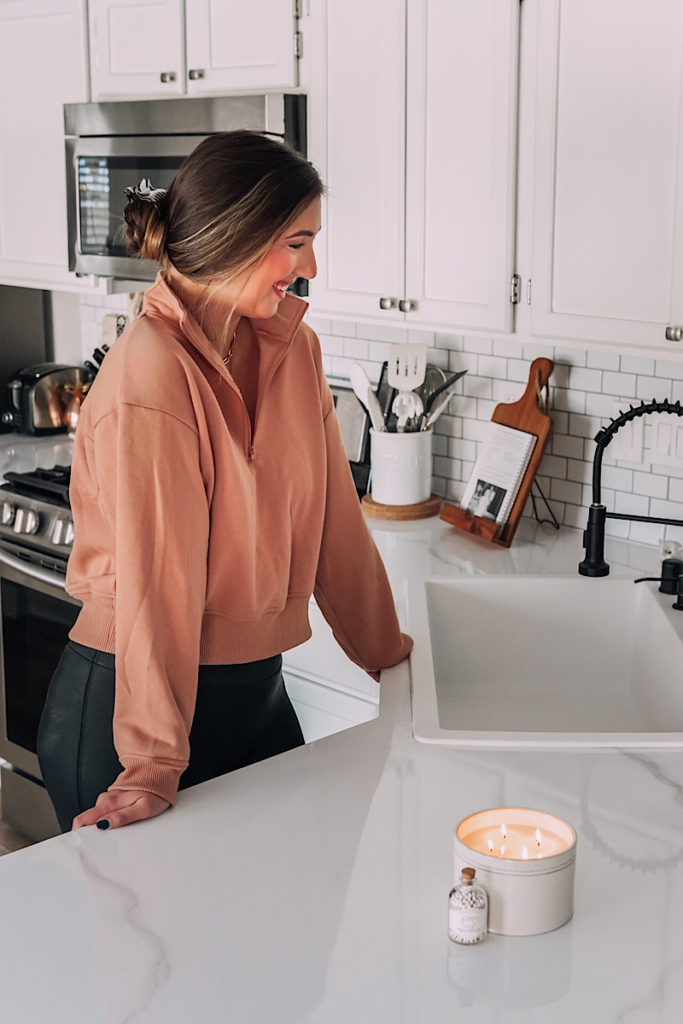
Don’t forget to check out the DIY counters story highlight on my Instagram! Use the links below to shop my outfit and all of our must-have kitchen update items (minus the counter kit):

Let me know what you think of our DIY budget friendly kitchen reno, or leave your questions below!
All is fair in love, war, and faking it till ya make it,


Inspiring budget-friendly kitchen renovation ideas! The practical tips and creative solutions make achieving a stylish and updated space seem effortlessly achievable. Great resource for those seeking a wallet-friendly kitchen transformation!
I absolutely loved this! We redid our counter tops in our new home! It looks so good! After we did the counter tops were realized that we needed to reface our cabinets. I do have one question for you! We had a problem with the epoxy rolling over the edge and leaving a “frozen water droplet” look on the underside of our counter tops, do you have any suggestions for this?
Hey Addie! Haha I had the exact same issue. I just took a sharp razor blade (be careful!) to it and sliced it off the bottom 🙂